I’m going to show you how to install Server 2019 on a VMware based platform. For most readers, you’ll probably be in a situation where either you are moving on from an earlier version or installing a fresh copy. For this guide, were going to go through and install a fresh copy.
System Requirements (Estimated)
- Processor – 1.4 GHz 64-bit processor
- RAM – 512 MB
- Disk Space – 32 GB
- Network – Gigabit (10/100/1000baseT) Ethernet NIC
- Optical Storage – DVD drive (if installing the OS from DVD media)
- Video – Super VGA (1024 x 768) or higher-resolution (optional)
- Input Devices – Keyboard and mouse (optional)
- Internet – Broadband access (optional)
Installation
We’ll want to download the evaluation ISO from the Microsoft website. You do have other options to download a VHD or setup an Azure instance, which, we’ll cover in another article.
Windows Server 2019 Evaluation Download
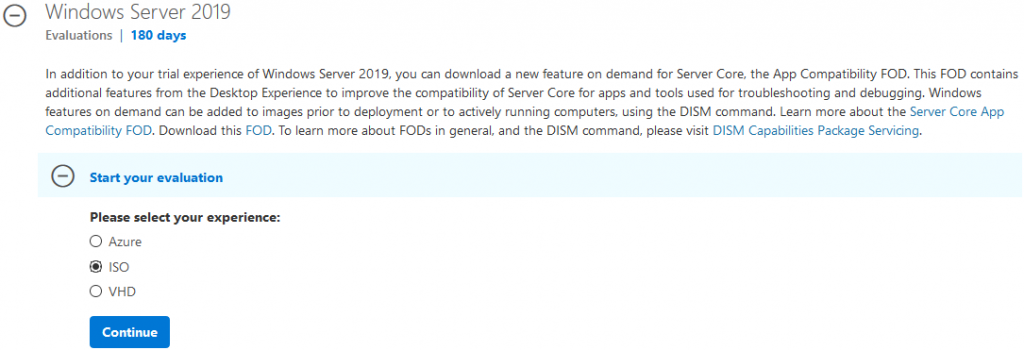
Once you’ve selected the ISO evaluation you should expect a 4.9GB download to start. If you are on Windows the download will be located under your Downloads folder or C:\Users\User\Downloads. After the download is complete, for my case, we’ll open up the VMware console.

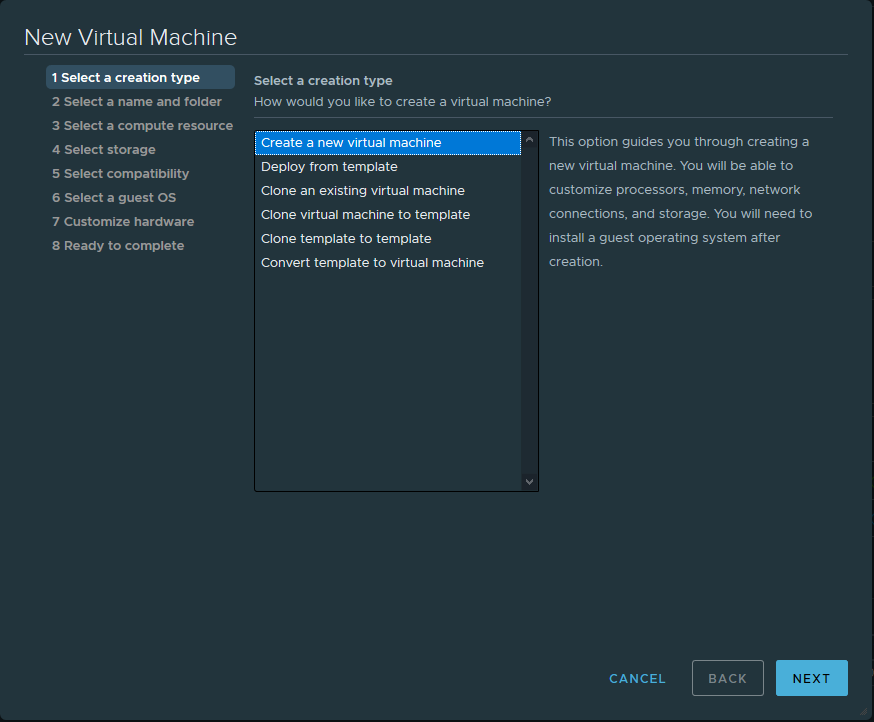
Choose the ESXi host – 192.168.4.13, right click, and select create a New Virtual Machine…
See the slideshow below for details on how to setup the virtual machine before deploying the operating system.
- Select “Create a new virtual machine”.
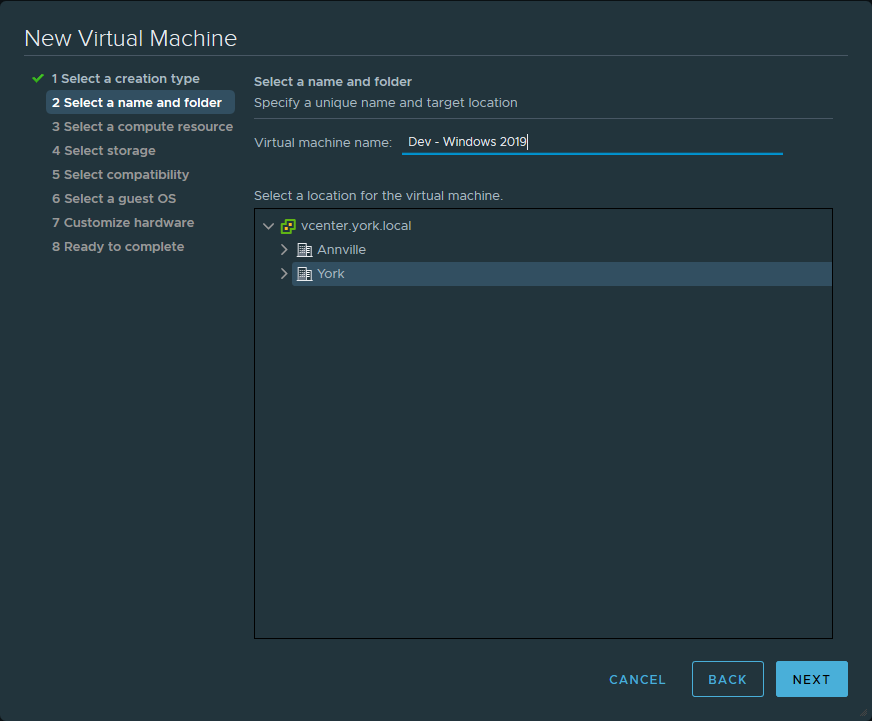
- Create a name for the virtual machine – something that best fits your environment.
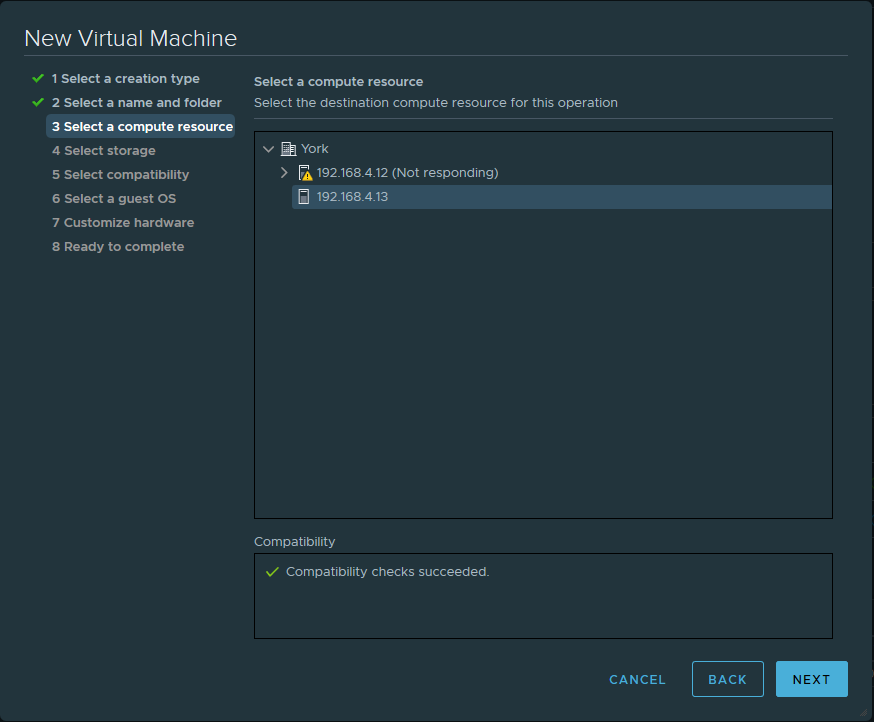
- If you have more than one host – select the host that you want to install the operating system on.
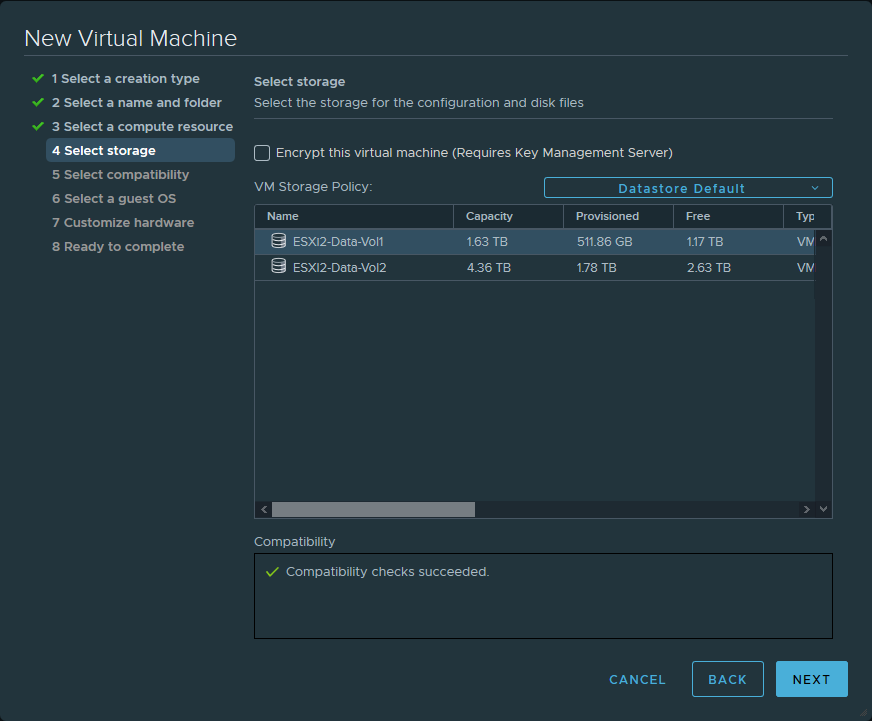
- Choose your storage. Again, this will be dependent on the environment you have in place. If you have shared storage you’ll want to select the correct datastore or direct storage.
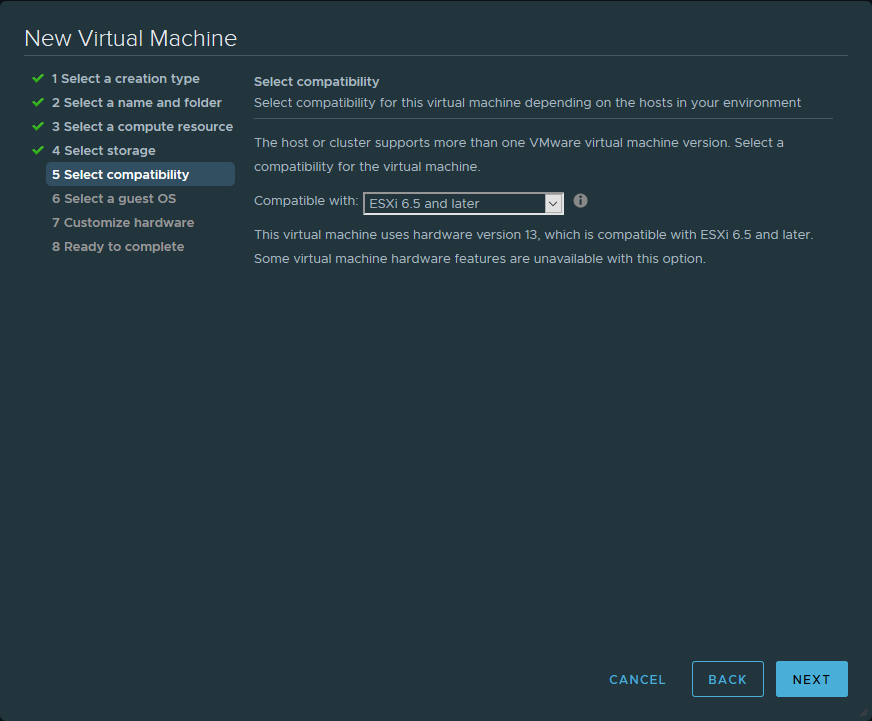
- For compatibility reasons, I’ve selected ESXi 6.5 and later…
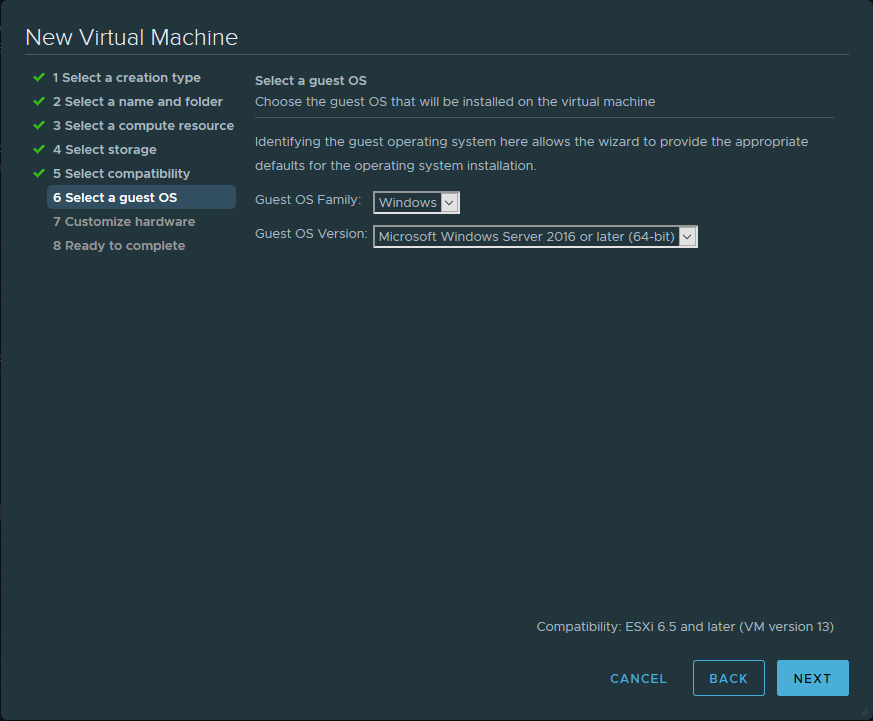
- Select the correct Guest OS information.
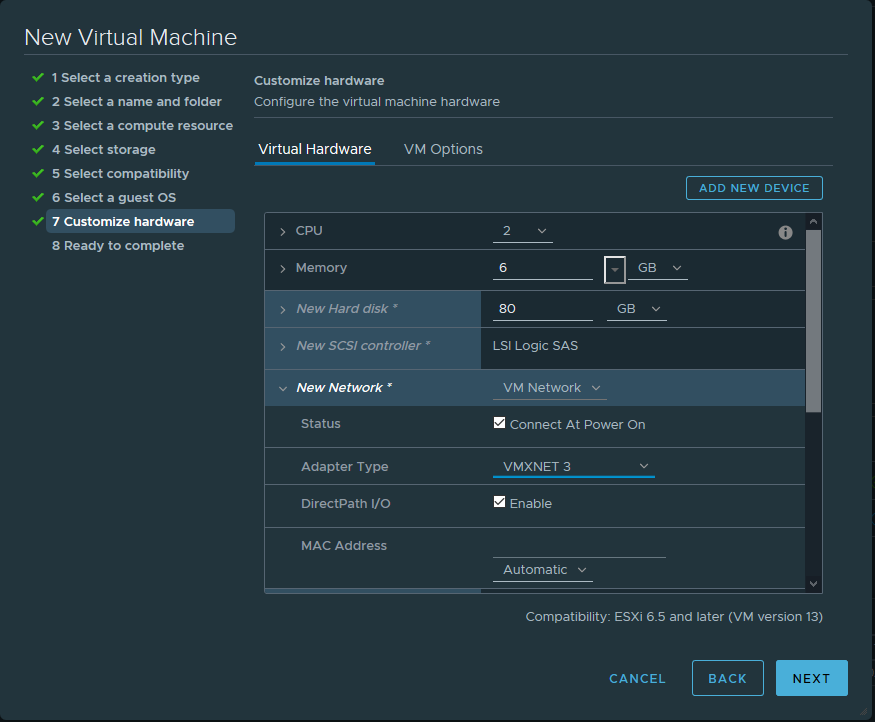
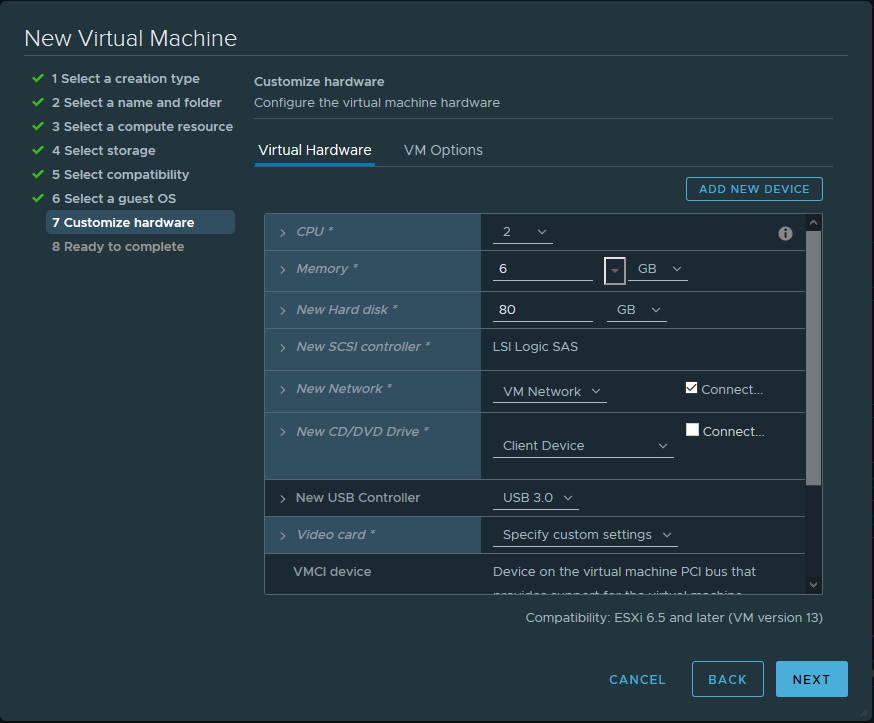
- Lastly, customize the hardware appropriately. You’ll want to refer to the above Systems Requirements.


Deploying Windows Server 2019
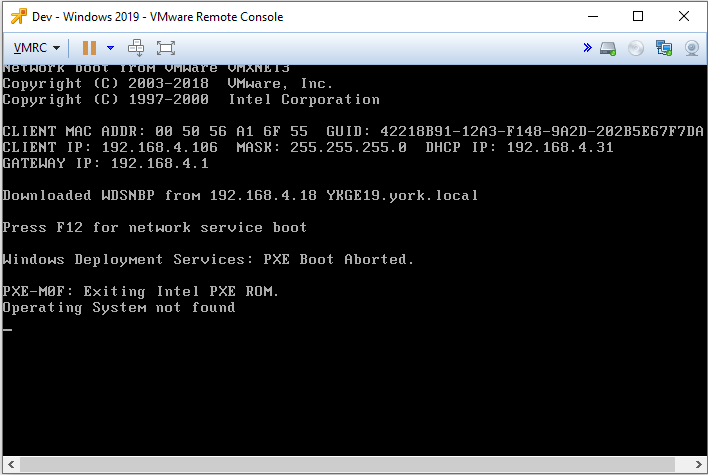
Now we are in the deployment phase of the operating system. If you haven’t logged out of VMware vCenter or ESXi start the virtual machine by click on the sideways green triangle.

Next, select either the Launch Web Console or Launch Remote Console. Preferably in this case you’ll want to use the Remote Console to add the ISO unless your PXE booting.
* If you select the Launch Remote Console option you can download this VMRC file to get started – Here

When you have the remote console open. Click on VMRC, Removable Devices, CD/DVD, and then browse to your ISO
After the ISO loads… select your settings. Mine are shown below in the image.
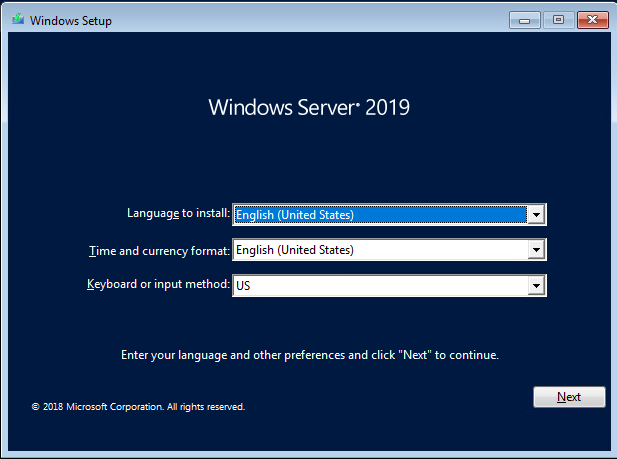
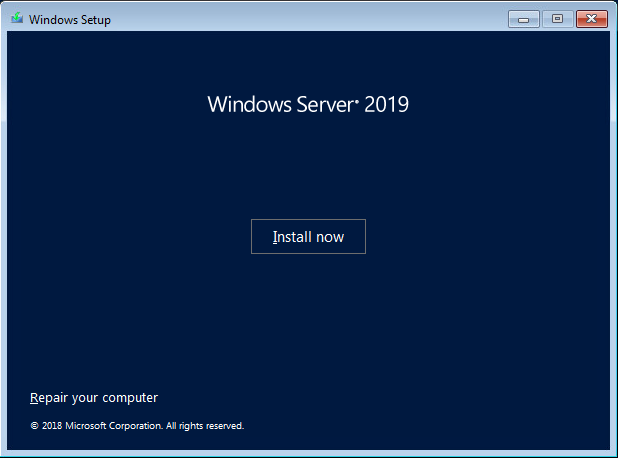
Click on Install Now
Select your version that you’d like to install. Mine is a little different since its a custom ISO for Vultr.

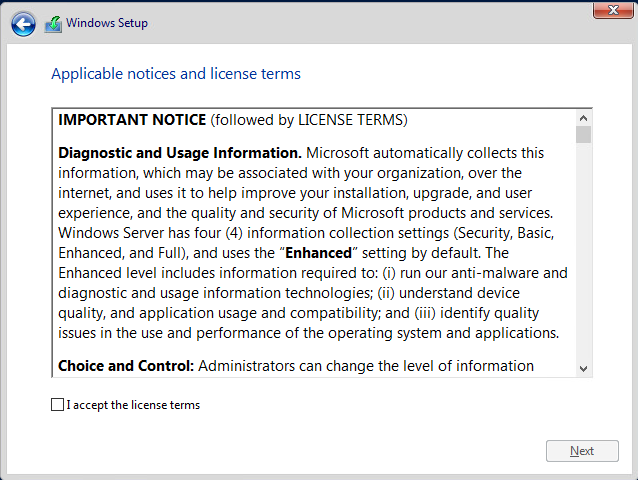
Accept the terms and conditions for the installation.
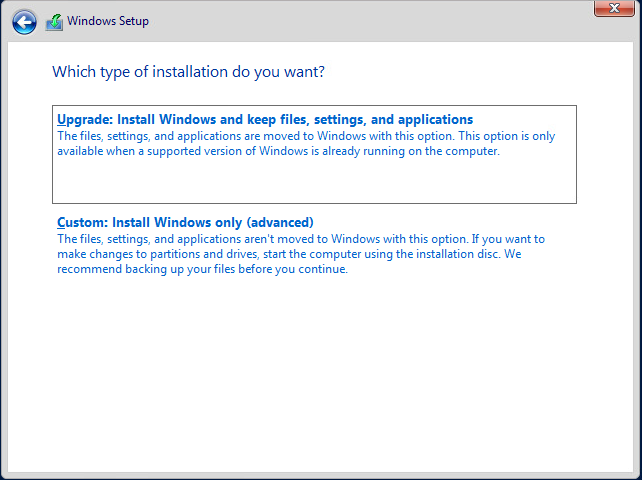
For this lab, select the Custom: Install Windows only (Advanced)
Choose the disk that you’ve assigned to the virtual machine or select the only one that is available.
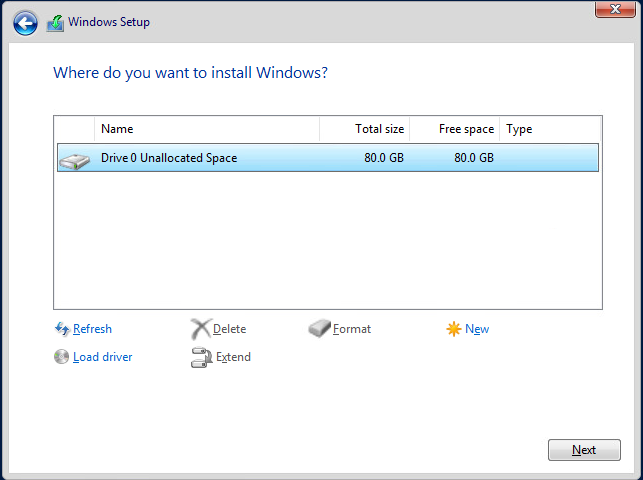
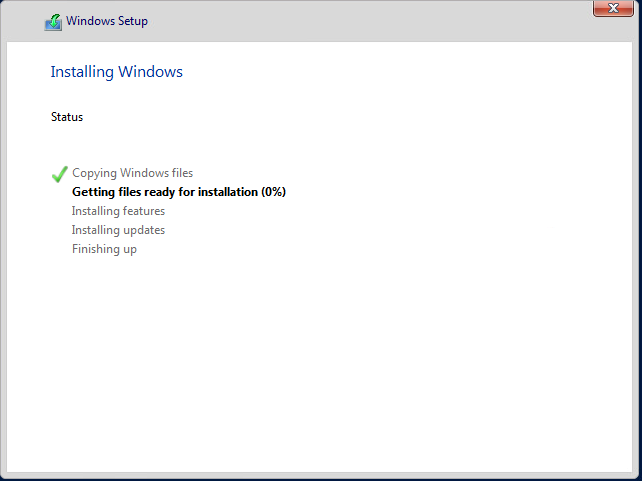
Allow Windows to install on the disk until completed.
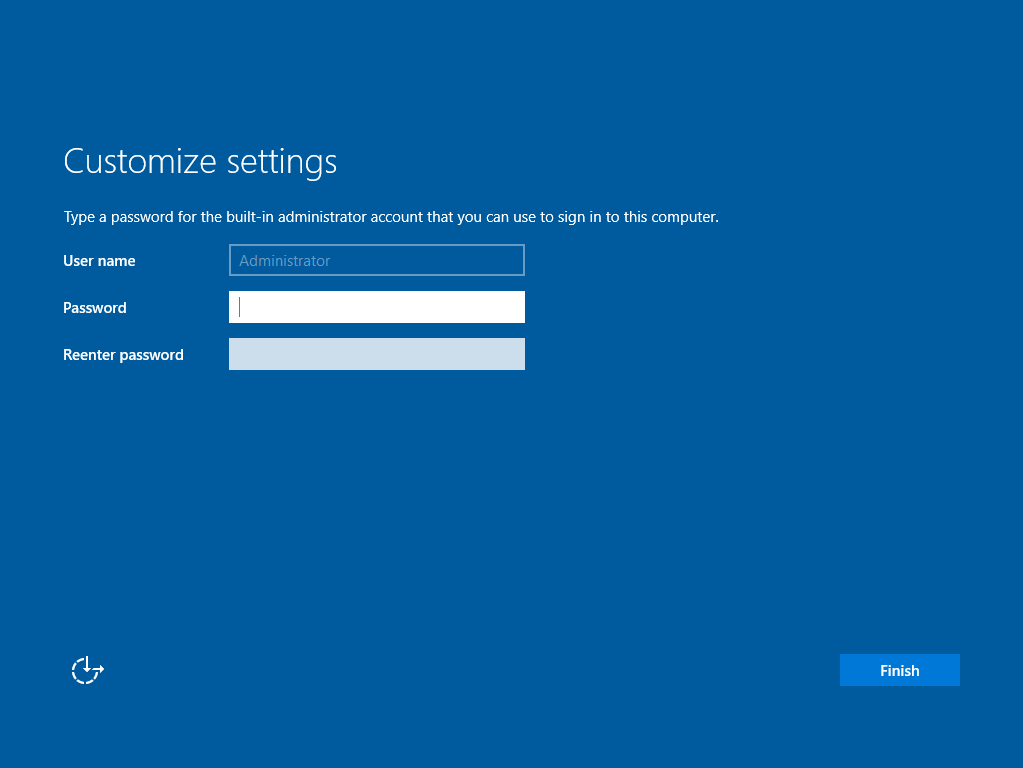
After the installation completes you should be prompted to create a password for the local account. As usual, choose a good password.